Author Topic: 71 rebuild  (Read 317407 times)

0 Members and 5 Guests are viewing this topic.

Offline wabco40

  • Fuel Injected
  • *****
  • Posts: 556
  • Location: Perth
Re: 71 rebuild
« Reply #640 on: August 08, 2016, 09:02:17 AM »
Looks pretty good Brad.

until you have all the gear back in place you won't know if the splash guards are too much.

The hoses etc may stand out more with the blue background.

Look forward to seeing it all back.

Thanks Craig.

I think if I had a Chevy orange engine it would look like crap. I have also replaced the blue rocker covers with polished aluminium. Anyway time will tell.

Offline wabco40

  • Fuel Injected
  • *****
  • Posts: 556
  • Location: Perth
Re: 71 rebuild
« Reply #641 on: September 02, 2016, 05:53:01 PM »

Well after much deliberation I decided the blue inner guards where a bit too much, so I sanded them again and shot them satin black.
It was a lot of wasted work but at least I got to see how it would look.

Slowly starting to get things back together again.


Offline Jethro

  • Camo's nemesis
  • Supercharged
  • ******
  • Posts: 1649
  • The Lone Ranger
  • Location: The Gong
  • Car: 1969 Corvette Roadster
Re: 71 rebuild
« Reply #642 on: September 02, 2016, 08:55:09 PM »
Got to give it to you Brad, it's definitely a work of art that Vette of yours :) 

Offline craigh

  • Four Barrel
  • ***
  • Posts: 195
Re: 71 rebuild
« Reply #643 on: September 02, 2016, 09:08:34 PM »
At least you decided now before you put it all back Brad.

Amazing detail work on those inner guards

Will look amazing when back together, keep it coming.

Offline wabco40

  • Fuel Injected
  • *****
  • Posts: 556
  • Location: Perth
Re: 71 rebuild
« Reply #644 on: September 03, 2016, 06:03:58 PM »

Thanks Jethro, Craig  :thumb:

Offline wabco40

  • Fuel Injected
  • *****
  • Posts: 556
  • Location: Perth
Re: 71 rebuild
« Reply #645 on: October 05, 2016, 11:19:17 PM »

Seems like I do everything three times on this car before I am satisfied!!!

I still have been having issues with the rear quarter seams. The factory horizontal seams where ok but the vertical seams where I spliced the flares into the original quarters was causing problems.
When the car was in direct sunlight this seam was visible, possibly if I hadn't colour sanded then it might not have been as noticeable.

Big mistake on my behalf trying to take a shortcut instead of replacing the entire quarter panels  :banghead:

Its been a long wet winter here in Perth so I decided to keep the car off the road a bit longer fix it once and for all. Hopefully I will learn from mistakes I made before.

Both the rear quarter panels where removed and the bonding strips cleaned up. New panels where trimmed to fit.


This time I used button head screws between the panels to hold them in place for bonding. This way I didn't drill any holes in the panels that would require filling and possible showing up through the paint later. It also allowed the panels to sit flush when bonding and with the diameter of the screws it kept the gap constant.


The panels bonded in place and screws removed. The lines on the top and bottom of the gap are where I sanded a taper back to for filling.


After reading US forums and doing a lot of research I decide on using Evercoat Fiber Tech to fill the gap between the panels and then finish off with Vette Panel Adhesive. The VPA was not used as an adhesive but as a final filler. It is much harder then normal body filler and sands very similar as the fibreglass.

The Australian distributor for Evercoat only imports Fibre Tech so I had to import the Vette Panel Adhesive myself. Of cause its classed as dangerous goods so it couldn't be airfreighted, fortunately I got it in the same container as the new rear quarter panels.


The seams filled with Fiber Tech and sanded.


Vette Panel Adhesive/Filler applied over the Fiber tech and blocked sanded


I shot a coat of epoxy primer over the seams. I did this because there where areas where it was sanded back to fibreglass on the top and rear tail light panels. This should seal it all up.


Baby blue primed rear quarters. I added 10% blue tint to the 2 pack urethane grey primer to help with the coverage of the blue base.

That's about where I am at for the moment. I will leave it for a few weeks to harden up then guide coat and block sand followed by another coat of primer.
My temporary home made spray booth has been getting a good workout lately.


Offline Jethro

  • Camo's nemesis
  • Supercharged
  • ******
  • Posts: 1649
  • The Lone Ranger
  • Location: The Gong
  • Car: 1969 Corvette Roadster
Re: 71 rebuild
« Reply #646 on: October 06, 2016, 07:38:47 AM »
Brad, If I ever go to paint my Vette can you do it for me ? It would be worth the drive to and fro W.A.. And Yes, I'm fooken being SERIOUS!

Offline craigh

  • Four Barrel
  • ***
  • Posts: 195
Re: 71 rebuild
« Reply #647 on: October 06, 2016, 08:11:23 AM »
Don't know what it is Brad, Gluten for punishment or the ultimate perfectionist ...... Possibly Both :-)

Have a question re your front Swayer end links.

I am just finishing up fitting the Global West upper and lower arms using their extended travel lowers.

With the Vette  lowered a fair bit the swaybar end links never aligned properly before and now they are worse.

I have flipped the bar that gives a bit better fitment but the only other option is to heavily shorten the end links.

What did you end up doing.

Offline Scott

  • Tri Powered
  • ****
  • Posts: 419
  • Shed Dweller
  • Location: Gold Coast
Re: 71 rebuild
« Reply #648 on: October 06, 2016, 08:44:25 AM »
I love reading the updates on this car, although it makes me realise how slack I am working on mine :)

Offline wabco40

  • Fuel Injected
  • *****
  • Posts: 556
  • Location: Perth
Re: 71 rebuild
« Reply #649 on: October 06, 2016, 09:55:03 AM »
Brad, If I ever go to paint my Vette can you do it for me ? It would be worth the drive to and fro W.A.. And Yes, I'm fooken being SERIOUS!

Would love to Jethro but I think my wife would divorce me if I started painting another Vette!!!

Offline wabco40

  • Fuel Injected
  • *****
  • Posts: 556
  • Location: Perth
Re: 71 rebuild
« Reply #650 on: October 06, 2016, 10:05:44 AM »
Don't know what it is Brad, Gluten for punishment or the ultimate perfectionist ...... Possibly Both :-)

Have a question re your front Swayer end links.

I am just finishing up fitting the Global West upper and lower arms using their extended travel lowers.

With the Vette  lowered a fair bit the swaybar end links never aligned properly before and now they are worse.

I have flipped the bar that gives a bit better fitment but the only other option is to heavily shorten the end links.

What did you end up doing.

More like a gluten for punishment Craig.

I don't think I had a problem with the sway bar end links. I am only using a standard sway bar but the link mounting point on the VB&P lower control arms are lower then the arms.
The distance I have from the mount to the sway bar is 60mm.


Offline wabco40

  • Fuel Injected
  • *****
  • Posts: 556
  • Location: Perth
Re: 71 rebuild
« Reply #651 on: October 06, 2016, 10:10:45 AM »
I love reading the updates on this car, although it makes me realise how slack I am working on mine :)

Thanks Scott, I wouldn't say slack. After I started removing the rear fenders again I realised how much work was involved and started having second thoughts about it.

Offline bfit

  • Don't talk of dust and roses
  • Global Moderator
  • Supercharged
  • *****
  • Posts: 2878
  • Two one thousands
  • Location: NSW
  • Mood: Honey reinforced
  • Car: Yes
Re: 71 rebuild
« Reply #652 on: October 07, 2016, 12:55:46 PM »
Brad
It takes a strong person to post their not so good results on  the web , although it look dam good in the photos .
 
I have not  started to fit my guards ,
I haven't  as yet got over  the way the rears are finished around the lip. :banghead:
 Maybe   next year they may go on my 69
Bob
I have seen too many instances where people continue to pursue wrong courses of action because they do not take the time to think critically about what has happened in the past.’’
Winston Churchill

Offline wabco40

  • Fuel Injected
  • *****
  • Posts: 556
  • Location: Perth
Re: 71 rebuild
« Reply #653 on: October 07, 2016, 08:14:32 PM »
Brad
It takes a strong person to post their not so good results on  the web , although it look dam good in the photos .
 
I have not  started to fit my guards ,
I haven't  as yet got over  the way the rears are finished around the lip. :banghead:
 Maybe   next year they may go on my 69
Bob

Thanks Bob. Couldn't see it in photos even when it was outdoors in the sun, you had to be there looking at the right angle.

It's a big learning curve and hopefully by posting the stuff ups I can help someone else from making the same mistake. My normal day job (and night  :grr:) is a shovel operator so working on this is a big difference.

I know what you mean about the finish of the fenders. These ones where not up to the same standard as the last pair I got. I spent quite awhile prepping these by glassing the thinner edges.


Offline Jethro

  • Camo's nemesis
  • Supercharged
  • ******
  • Posts: 1649
  • The Lone Ranger
  • Location: The Gong
  • Car: 1969 Corvette Roadster
Re: 71 rebuild
« Reply #654 on: October 07, 2016, 09:40:44 PM »
Brad I'm saving my pennies so by the time your mrs forgets all about your Vette i'll be ready for you to paint my Vette!  :grin:

Offline wabco40

  • Fuel Injected
  • *****
  • Posts: 556
  • Location: Perth
Re: 71 rebuild
« Reply #655 on: October 08, 2016, 07:57:52 AM »
Brad I'm saving my pennies so by the time your mrs forgets all about your Vette i'll be ready for you to paint my Vette!  :grin:


 :thumb: ok Jethro, have to wait until I do extensions to my shed and add a prep bay and spray booth.


Offline Jethro

  • Camo's nemesis
  • Supercharged
  • ******
  • Posts: 1649
  • The Lone Ranger
  • Location: The Gong
  • Car: 1969 Corvette Roadster
Re: 71 rebuild
« Reply #656 on: October 08, 2016, 10:24:28 AM »
 :thumb: :thumb:

Offline bfit

  • Don't talk of dust and roses
  • Global Moderator
  • Supercharged
  • *****
  • Posts: 2878
  • Two one thousands
  • Location: NSW
  • Mood: Honey reinforced
  • Car: Yes
Re: 71 rebuild
« Reply #657 on: October 11, 2016, 12:02:07 PM »
Brad did you use Fusor for the adhesive  this time
BFit
I have seen too many instances where people continue to pursue wrong courses of action because they do not take the time to think critically about what has happened in the past.’’
Winston Churchill

Offline wabco40

  • Fuel Injected
  • *****
  • Posts: 556
  • Location: Perth
Re: 71 rebuild
« Reply #658 on: October 11, 2016, 01:24:28 PM »
Brad did you use Fusor for the adhesive  this time
BFit

Hi Bob, yeah I did but this time I used T21 which is an epoxy instead of 127ez. It's much harder to dispense out of a manual twin chalking gun with a mixing nozzle then the 127 but still ok (if I was using it regularly then I would invest in a powered gun).
Both products work well and from tests I've done (and removing the previous fenders) it will damage the fibreglass before breaking the bond.


Offline wabco40

  • Fuel Injected
  • *****
  • Posts: 556
  • Location: Perth
Re: 71 rebuild
« Reply #659 on: October 17, 2016, 08:41:36 PM »

I started to block sand the rear quarter panels. There where a few low areas on the panels that I was hoping the urethane primer would fill, probably more a case of wishful thinking. After blocking I realised that some of the areas where too deep for primer to fill without causing issue later.

These quarter panels are not as straight as I would like them to be. The first pair I fitted I used body filler to fill the low areas the same time I was filling the splice line.

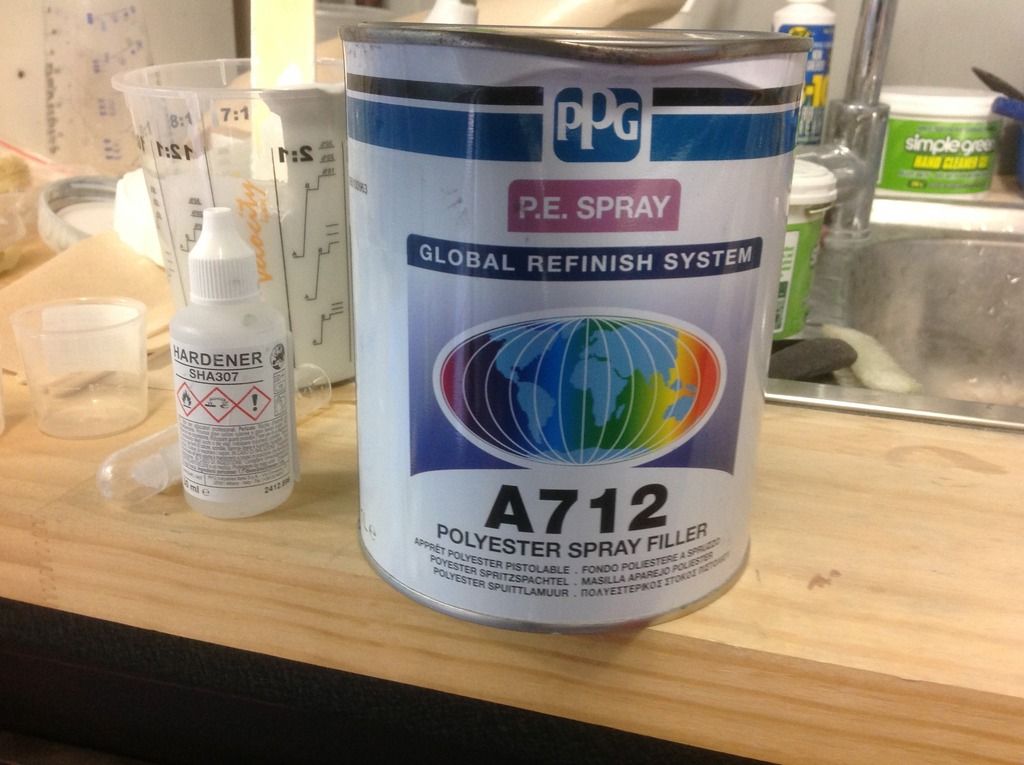
The low areas are only minor so I decided to use a polyester spray filler, this is easier then trying to apply a skim coat of body filler. Seeing the quarter panels are polyester I sanded the urethane prime off and then sprayed the polyester filler. I believe it is ok to spray it over properly prepped urethane primer but I didn't want to chance it. The instruction say to spray it over epoxy primer (which for steel bodied cars is for adhesion and corrosion protection), I had already sprayed epoxy on the seams to seal the raw fibreglass on the original panels and the remaining areas of the quarter panels are polyester gel coat so there should be no adhesion problems.

I have never used this product before but now after using it I could not speak more highly of it. I wish I knew it was available years ago when I first started prepping the rest of the car for paint.

The polyester is very thick so I had to use a 2.5mm nozzle on my primer gun. Also once mixed you need to spray it straight away and then clean the gun out as it sets up quite fast.

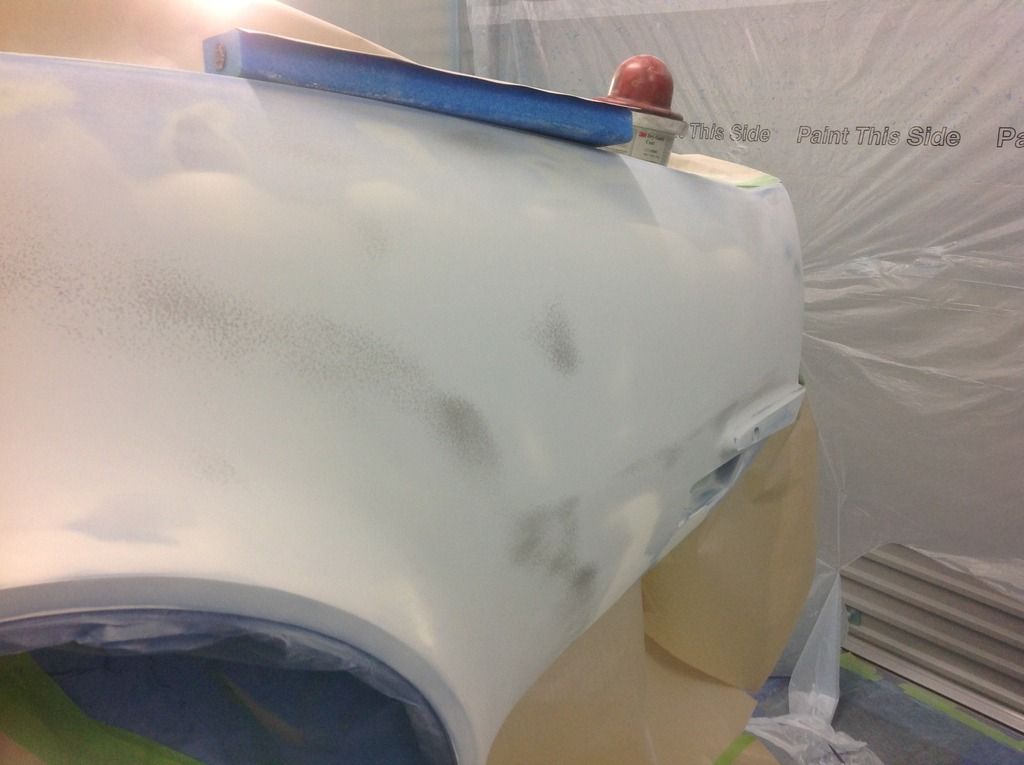
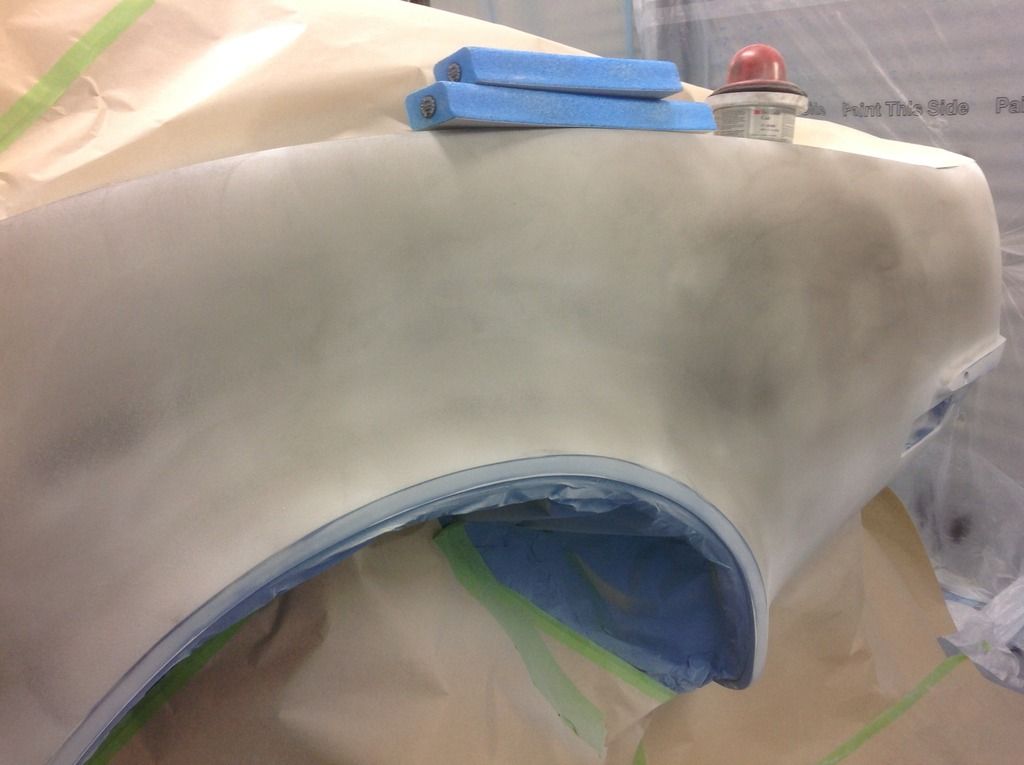
I sprayed the quarter panels then guide coat and block sanded them. This showed there where still some low areas. Another coat of the polyester spray filler and blocking out with 320 grit, this sanded out the last of the guide coat just before breaking through to the gel coat.

The polyester sands very nicely and the best thing is there is no shrinkage, not like the urethane.

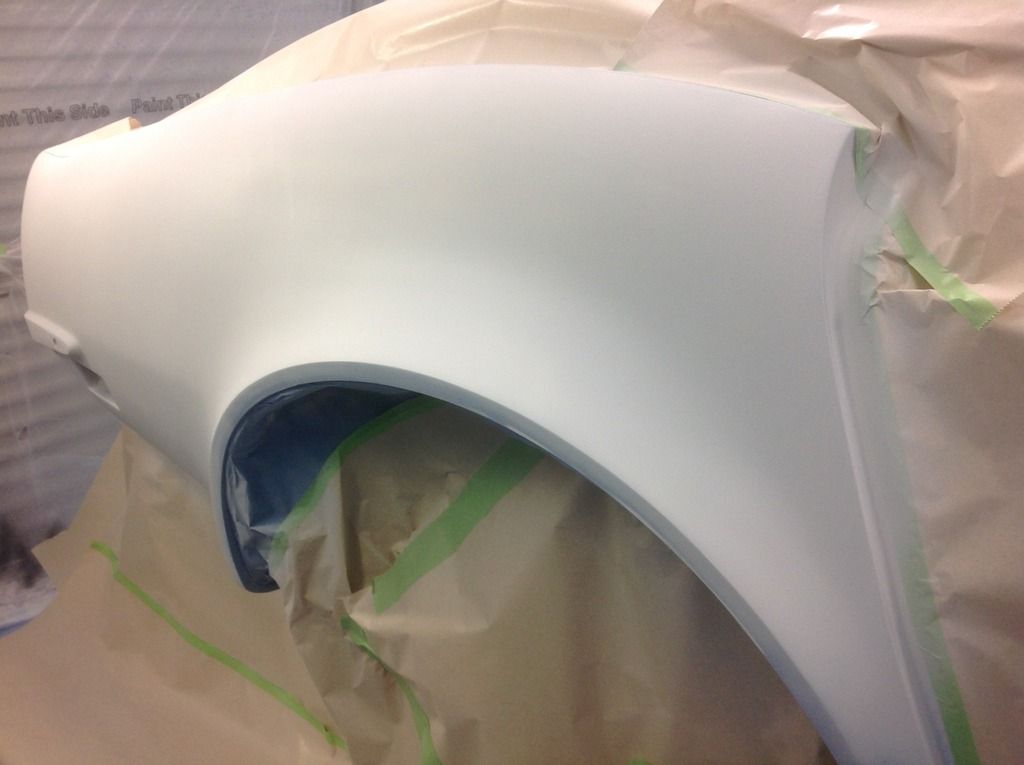
Now the panels are straight I sprayed them with tinted primer again. I will leave them for as long as possible before another round of block sanding and then paint.

The way this year is flying by it probably won't be until after Christmas before it's painted again.


The dark areas are low spots with guide coat still in them.


Another coat of polyester filler.


More guide coat then back to sanding. most of the filler will end up as dust on the floor (and everywhere else).


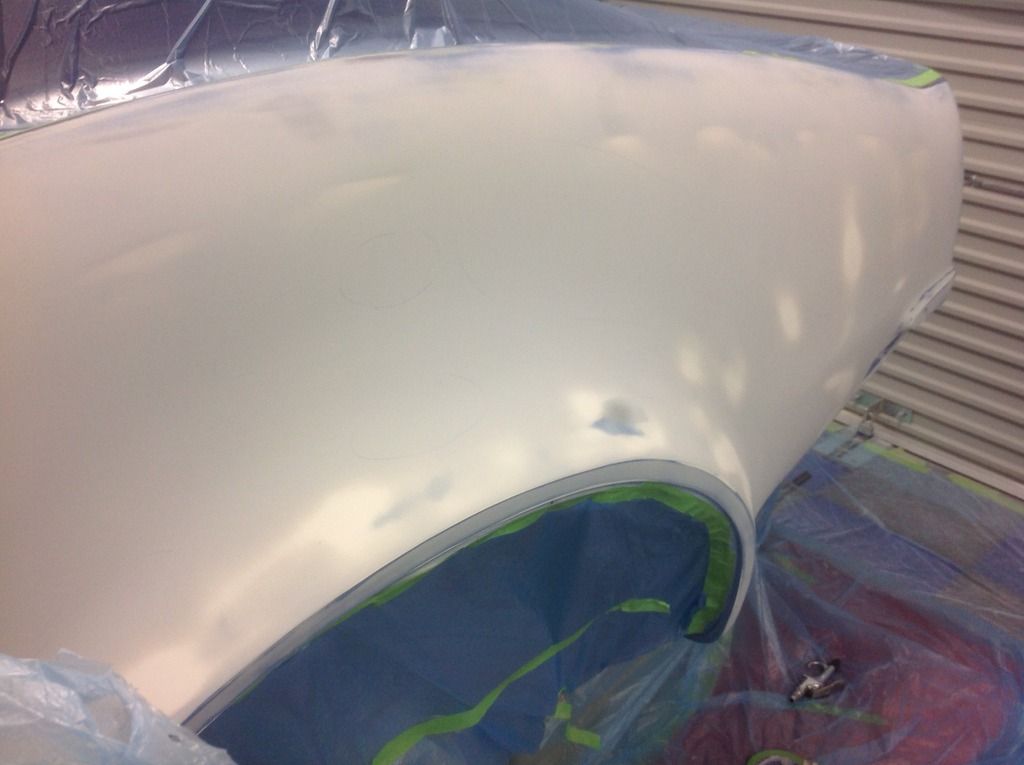
The quarter panel sanded. The white areas is the gel coat, I sanded as much of the polyester filler off as possible by removing all the guide coat and just stopped short of breaking through to the gel coat.


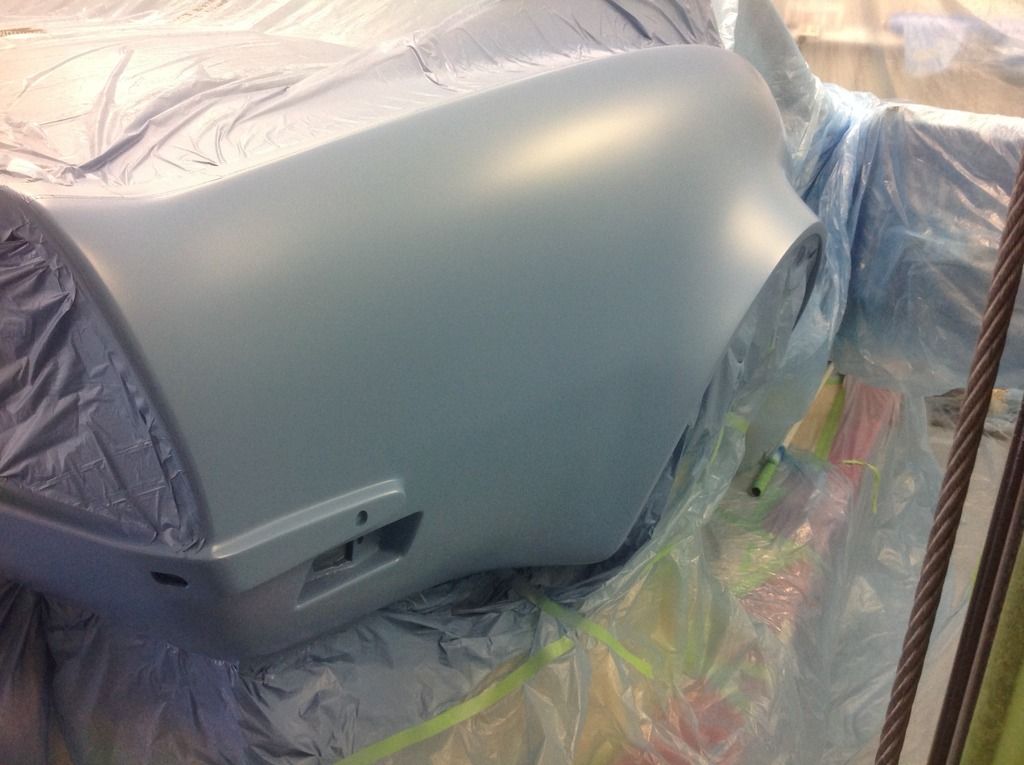
Back in primer again.


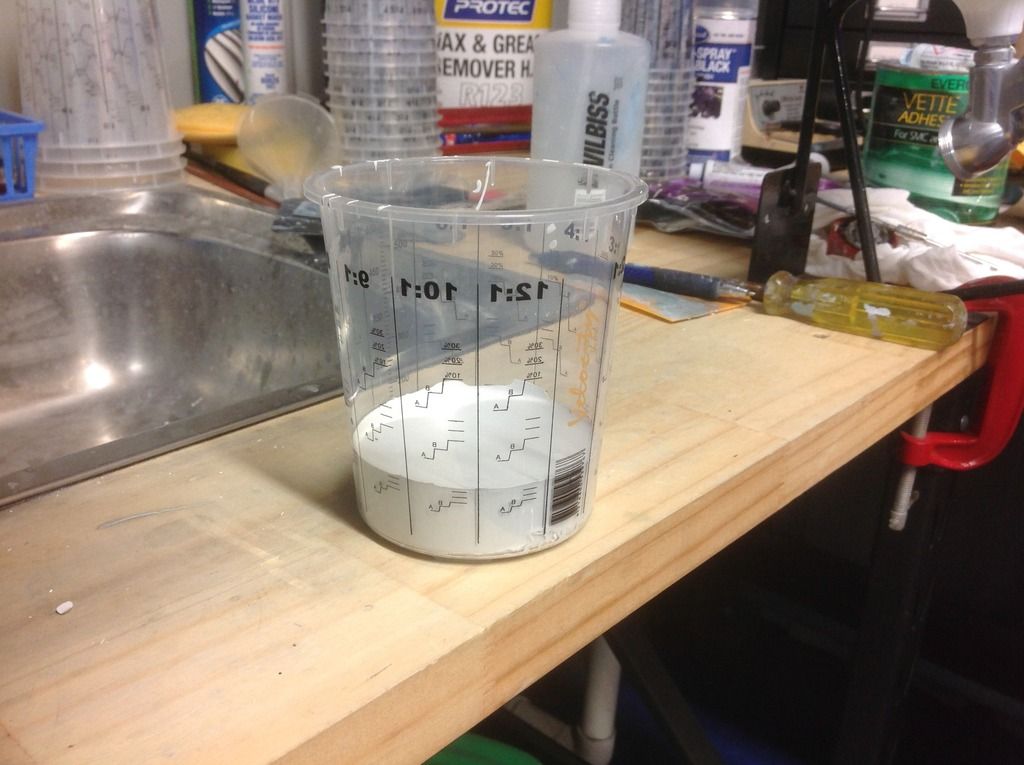
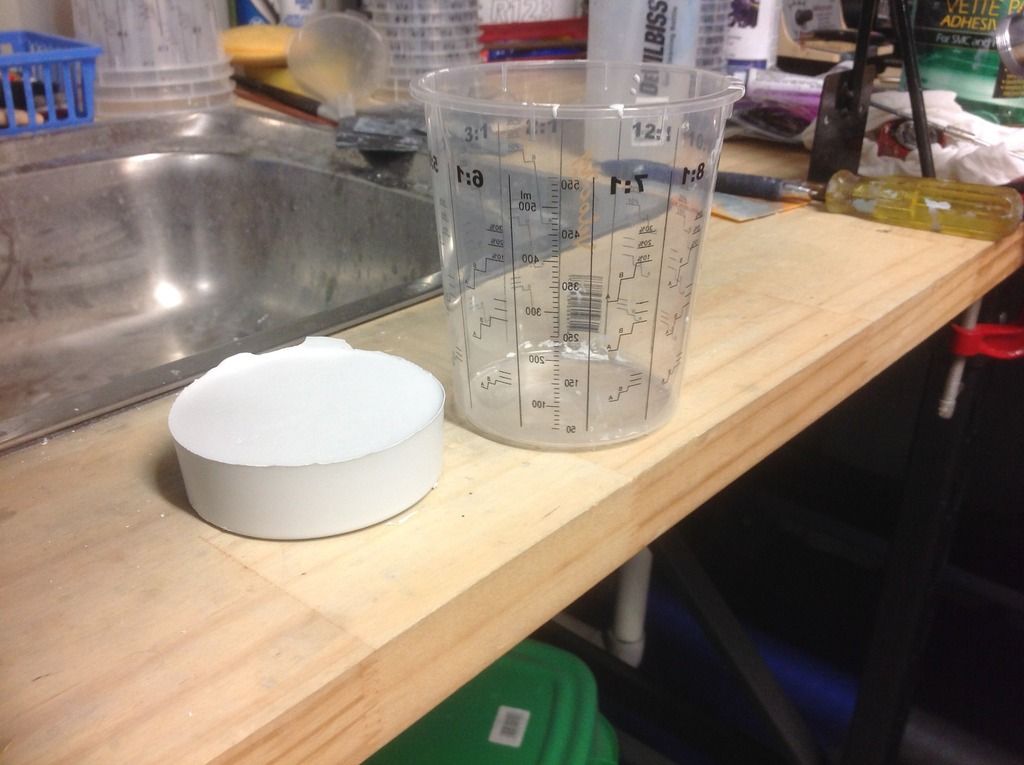
Dried leftover polyester in the mixing cup. This stuff sets up rock hard but has no shrinkage. The second picture is the dried product removed from the cup, it remained exactly the same size as the cup.