Author Topic: 71 rebuild  (Read 317458 times)

0 Members and 12 Guests are viewing this topic.

Offline bfit

  • Don't talk of dust and roses
  • Global Moderator
  • Supercharged
  • *****
  • Posts: 2878
  • Two one thousands
  • Location: NSW
  • Mood: Honey reinforced
  • Car: Yes
Re: 71 rebuild
« Reply #440 on: October 30, 2014, 12:02:29 PM »
I have a molnar  two post  its a good  unit but not really suited for a C3 corvette
I have recently  purchased and Molnar  4 posters
in any case  a hoist makes life easy
Bfit
I have seen too many instances where people continue to pursue wrong courses of action because they do not take the time to think critically about what has happened in the past.’’
Winston Churchill

Offline wabco40

  • Fuel Injected
  • *****
  • Posts: 556
  • Location: Perth
Re: 71 rebuild
« Reply #441 on: October 30, 2014, 12:35:13 PM »
I have a molnar  two post  its a good  unit but not really suited for a C3 corvette
I have recently  purchased and Molnar  4 posters
in any case  a hoist makes life easy
Bfit

I agree Bob, I didn't like the idea of the amount of chassis flex when lifting on a two poster.
If I need lift the wheels up on the four poster then I just use the jacking beam.

Offline Scott

  • Tri Powered
  • ****
  • Posts: 419
  • Shed Dweller
  • Location: Gold Coast
Re: 71 rebuild
« Reply #442 on: October 31, 2014, 08:47:20 AM »
Good to hear.  I've been trying to align my bellhousing for the gearbox swap, so I've been under and out of the car 30-40 times as I couldn't get it right.  I decided I needed to get a hoist about two weeks ago, and the wife strangely said yes, so I've now ordered one and I should have it by late next week.  That should help immensely with slotting the new gearbox in.

Offline wabco40

  • Fuel Injected
  • *****
  • Posts: 556
  • Location: Perth
Re: 71 rebuild
« Reply #443 on: November 20, 2014, 07:50:36 PM »
A bit more progress happening, slow going but I am not in any hurry.

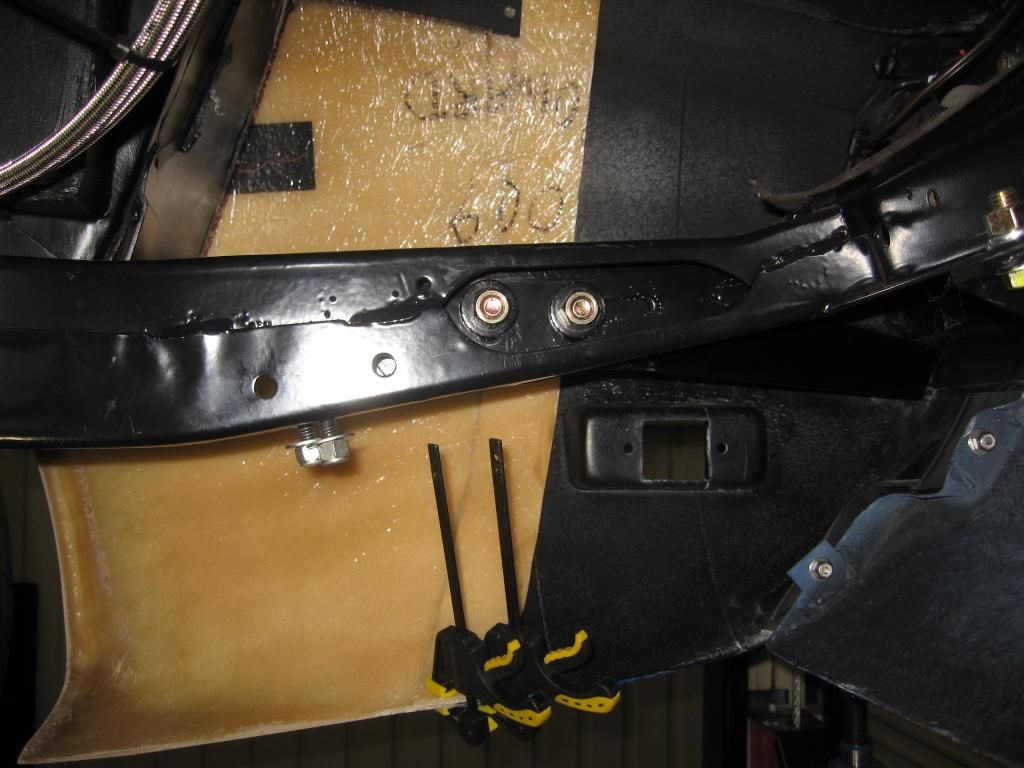
The original bonding strips are cleaned up. I have removed the bottom section of the rear splash shield, I will bond it back in when the fender are bonded on.


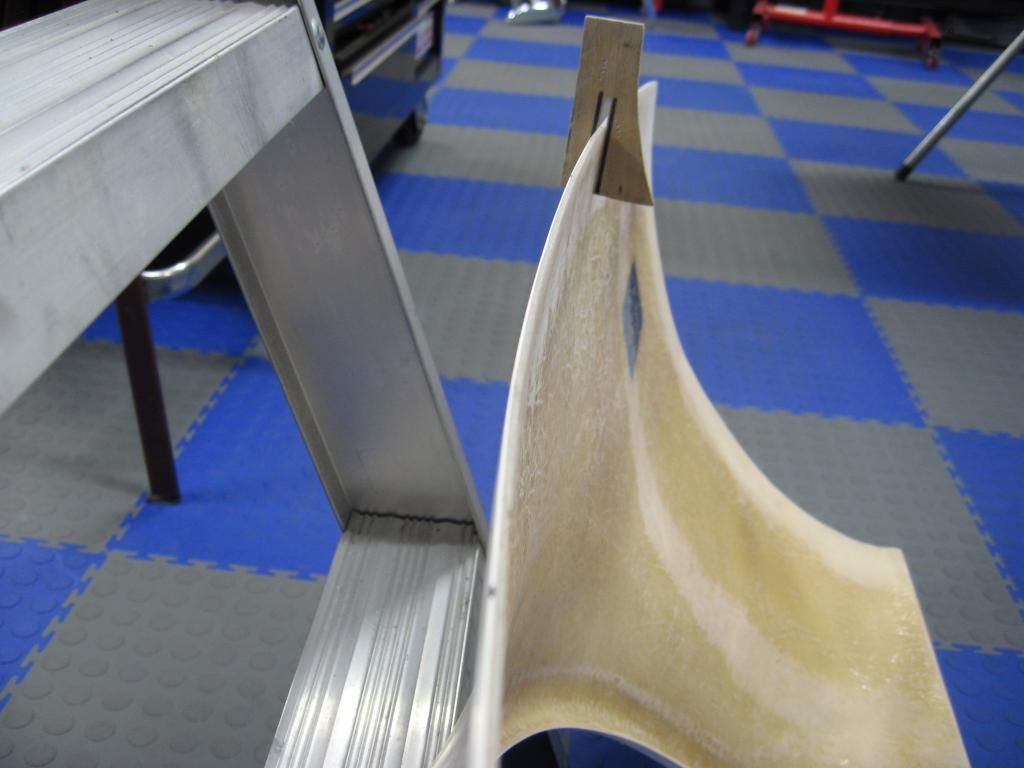
Checking the fit of a bonding strip for the rear section. This is a 2" wide strip cut from the unused rear section of the new fenders.


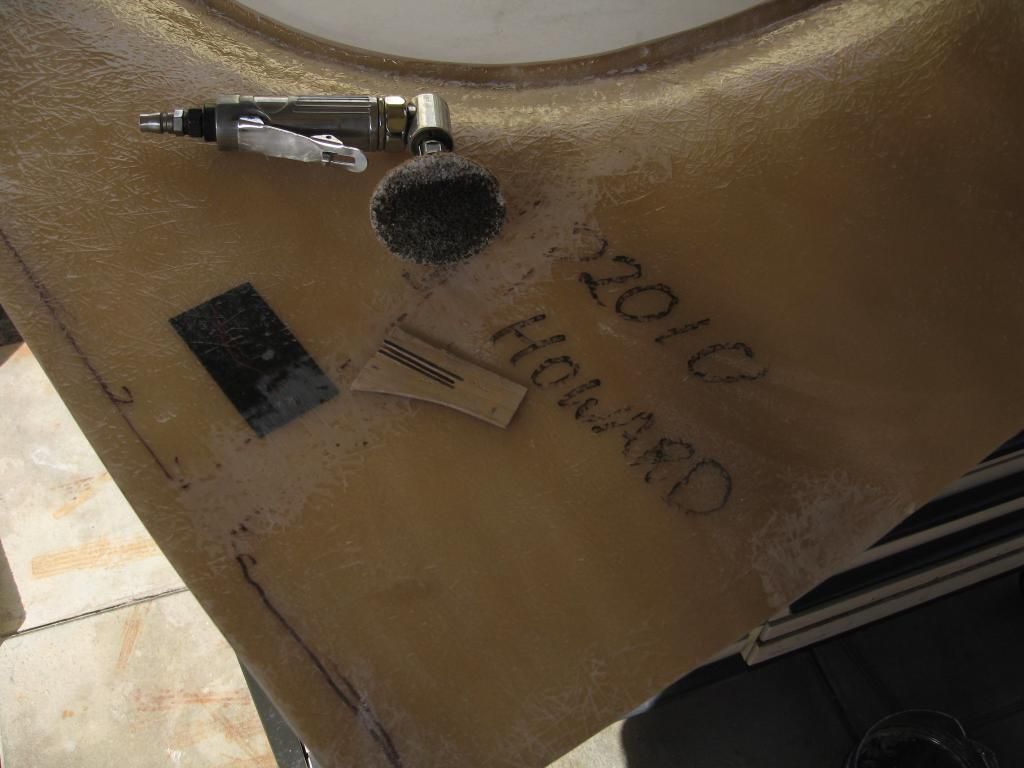
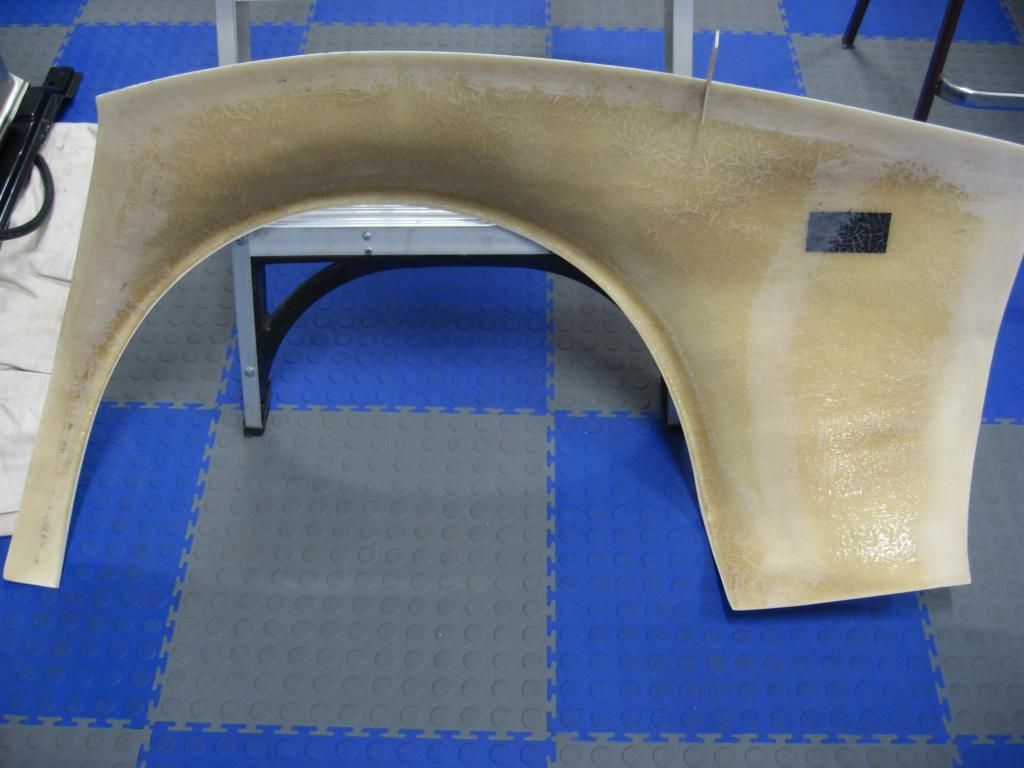
The bonding areas of the new fenders need sanding.
As they are hand laid the thickness of the panels vary quite a bit. The original panels are 1/8" thick so I made up a thickness gauge and sanded the bonding areas of the new panels to this thickness. This way the new and original panels will be relatively even when fitted.


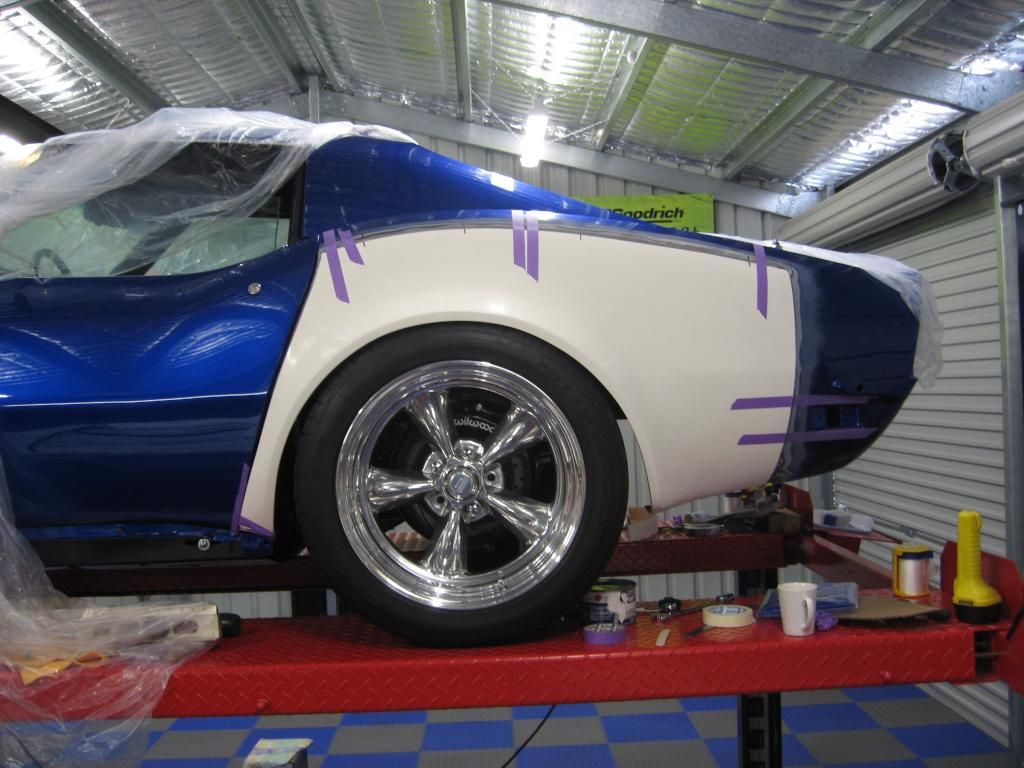
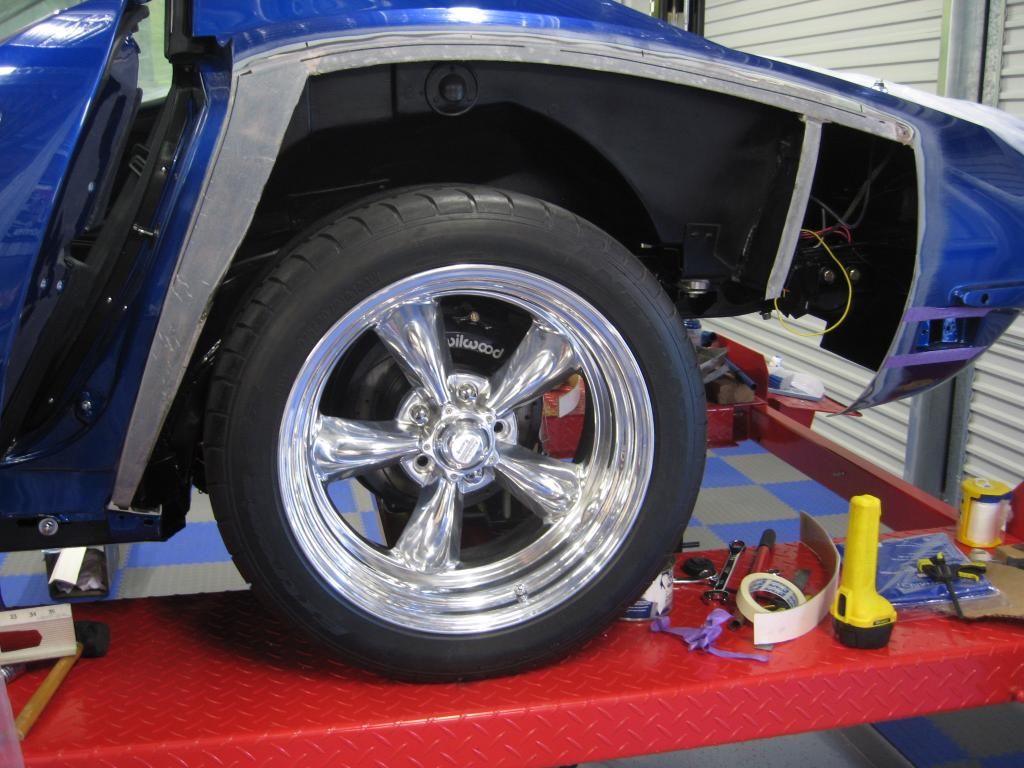
I am cutting it a bit fine for clearance. The pictures are of the rear lowered so its just on the bump stops.
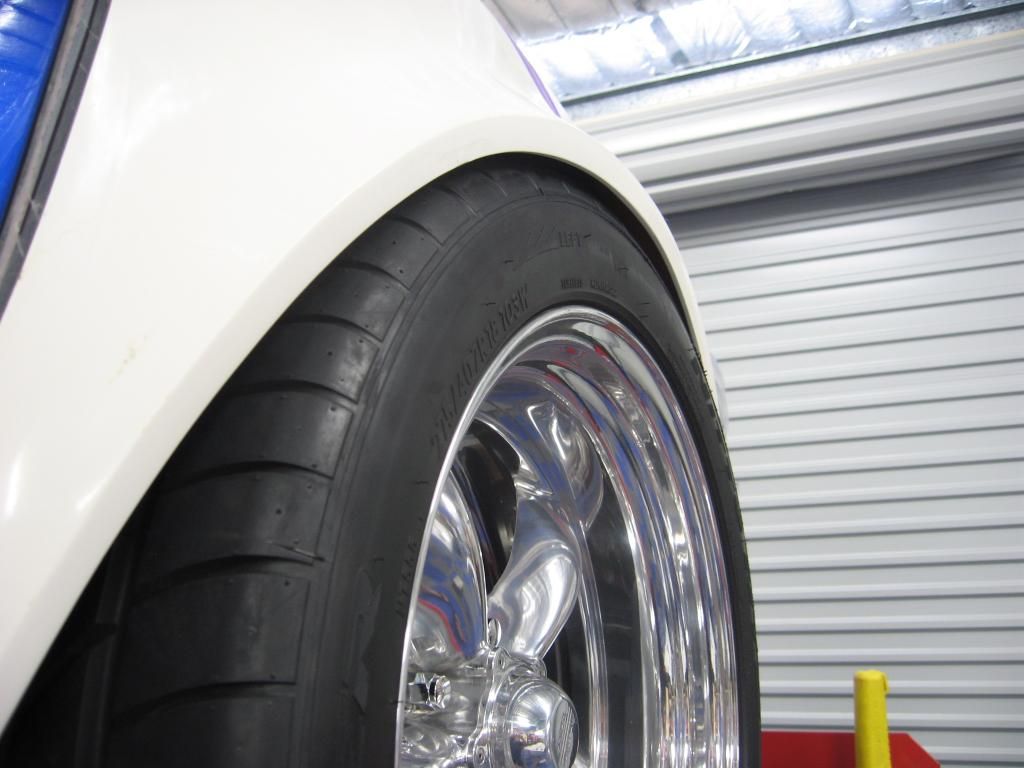
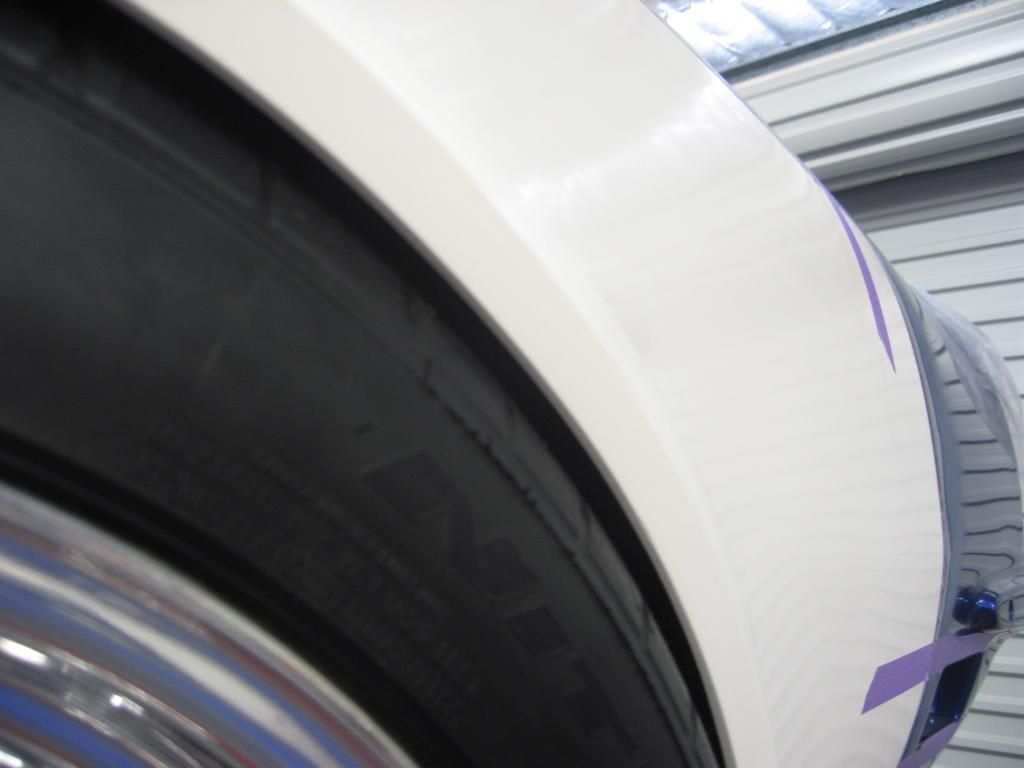
I have trimmed the inner lip to clear the tyre, there's not much in it.
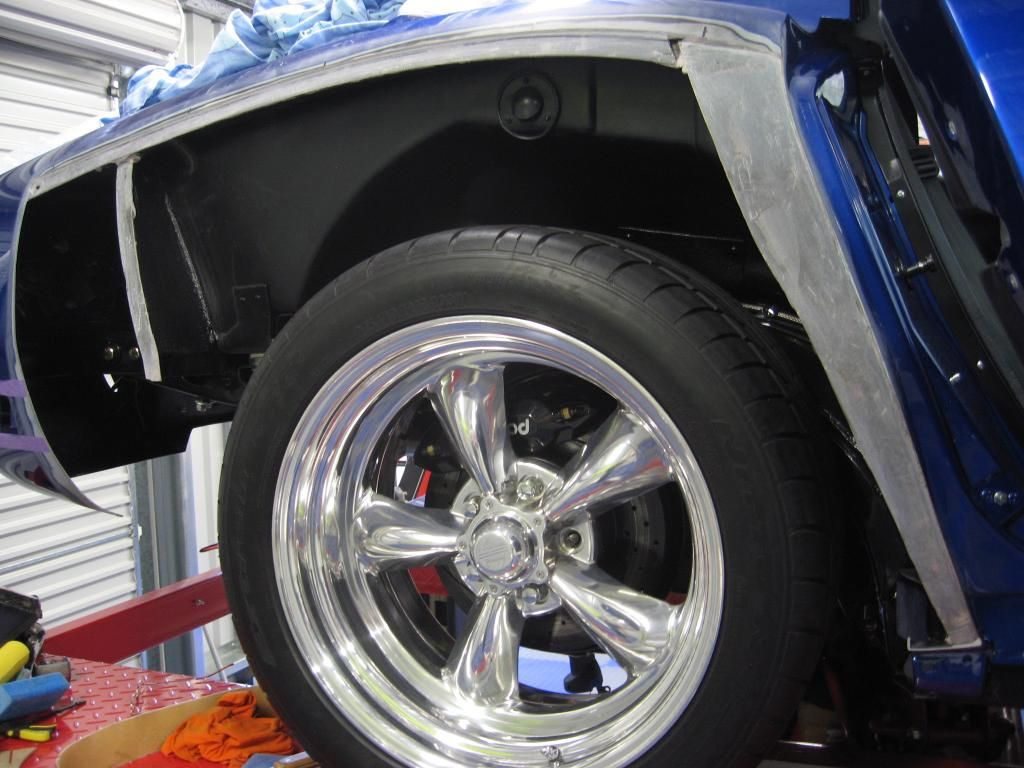
I am using my 9.5" rim with a 1.5" spacer to mimic an 11" rim to set it up. I'll see how it looks after both fenders are on and the 11" rims fitted. I still may have to machine the inner wheel hub a few mil to gain some more room.


Offline bfit

  • Don't talk of dust and roses
  • Global Moderator
  • Supercharged
  • *****
  • Posts: 2878
  • Two one thousands
  • Location: NSW
  • Mood: Honey reinforced
  • Car: Yes
Re: 71 rebuild
« Reply #444 on: November 20, 2014, 08:04:30 PM »
Mate what is the overall width across the rear wheels
Bfit
I have seen too many instances where people continue to pursue wrong courses of action because they do not take the time to think critically about what has happened in the past.’’
Winston Churchill

Offline wabco40

  • Fuel Injected
  • *****
  • Posts: 556
  • Location: Perth
Re: 71 rebuild
« Reply #445 on: November 21, 2014, 10:16:07 AM »
Mate what is the overall width across the rear wheels
Bfit

Hi Bob,

1830 mm from outside edge to outside edge of rear fenders.

Offline bfit

  • Don't talk of dust and roses
  • Global Moderator
  • Supercharged
  • *****
  • Posts: 2878
  • Two one thousands
  • Location: NSW
  • Mood: Honey reinforced
  • Car: Yes
Re: 71 rebuild
« Reply #446 on: November 21, 2014, 10:56:12 AM »
Hi Bob,

1830 mm from outside edge to outside edge of rear fenders.


thanks mate
that's a big help saves me guessing at the overall width I can use with the Flares
Bfit
I have seen too many instances where people continue to pursue wrong courses of action because they do not take the time to think critically about what has happened in the past.’’
Winston Churchill

Offline wabco40

  • Fuel Injected
  • *****
  • Posts: 556
  • Location: Perth
Re: 71 rebuild
« Reply #447 on: November 22, 2014, 04:36:41 PM »
Rear bonding strips glued in.


I am using Lord 127 to bond the new fenders on. I used it before to bond the front clip on.
Good stuff and easy to use, just fit a mixing nozzle and lay out a bead :thumb:


I have masked off the glue lines and sprayed stone guard to the inside of the fenders. When there fitted I will touch up the masked areas.


Offline Jethro

  • Camo's nemesis
  • Supercharged
  • ******
  • Posts: 1649
  • The Lone Ranger
  • Location: The Gong
  • Car: 1969 Corvette Roadster
Re: 71 rebuild
« Reply #448 on: November 22, 2014, 04:39:19 PM »
As we'd expect nothing but shear perfection Brad

Offline wabco40

  • Fuel Injected
  • *****
  • Posts: 556
  • Location: Perth
Re: 71 rebuild
« Reply #449 on: November 22, 2014, 04:48:05 PM »
As we'd expect nothing but shear perfection Brad

Thanks Jethro :cheers:

A bit of prep work now saves a lot of mucking around after there fitted.

Offline craigh

  • Four Barrel
  • ***
  • Posts: 195
Re: 71 rebuild
« Reply #450 on: November 22, 2014, 10:32:02 PM »
Am enjoying the process Brad,  learning  a lot.

Offline wabco40

  • Fuel Injected
  • *****
  • Posts: 556
  • Location: Perth
Re: 71 rebuild
« Reply #451 on: November 23, 2014, 04:27:30 PM »
Am enjoying the process Brad,  learning  a lot.

Thanks Craig  :thumb:

I have bonded the left fender on this morning. I am back to work tomorrow for another seven days so I'll do the right side next week.

The fenders ready to bond on.


One last dry fit. The panel is temporary held in place with button head screws. The screws are tightened down just enough to get the panels and door rear sitting flush.


When I finish bonding both fenders on I will sand a bevel on the edges of the panels and fibreglass matt the seam and screw holes.


Bonding adhesive applied


and the fender fitted.


Offline wabco40

  • Fuel Injected
  • *****
  • Posts: 556
  • Location: Perth
Re: 71 rebuild
« Reply #452 on: November 24, 2014, 10:42:15 PM »
Side views of the original and new fenders.

The original fenders have the wheel too far forward in the opening. The new fenders fit the wheel much better.
One of the reasons I spliced the new fender onto the existing rear fender section (instead of just replacing the whole fender) is because it allowed me to position the wheel opening a bit better.
I have positioned these fenders back slightly to even the gap around the wheel, hence the large door gap. This area will be built up with fibreglass and the door gaps re-cut.


Offline wabco40

  • Fuel Injected
  • *****
  • Posts: 556
  • Location: Perth
Re: 71 rebuild
« Reply #453 on: December 06, 2014, 05:15:01 PM »
Both rear fenders are now bonded on.

I decided to use a resin/chopped strand mixture to fill the gap between the panels instead of glassing the seam with fibreglass matt. It as too much of a hassle to try get matt to lay in small gap.


A thin skim of filler over the rear seam area and then start sanding. Most of this will be sanded off.
I am just doing a section at a time, working from the back forward to the door.


Offline Sting 69

  • Four Barrel
  • ***
  • Posts: 58
Re: 71 rebuild
« Reply #454 on: December 20, 2014, 09:27:58 PM »
Outstanding work. Great step by step pics and a very thorough guide for anyone attempting a similar modification. Can't wait to see the finished product.

Offline craigh

  • Four Barrel
  • ***
  • Posts: 195
Re: 71 rebuild
« Reply #455 on: December 20, 2014, 09:38:54 PM »
What type of filler did you use Brad ?

Offline wabco40

  • Fuel Injected
  • *****
  • Posts: 556
  • Location: Perth
Re: 71 rebuild
« Reply #456 on: December 20, 2014, 11:54:01 PM »
Outstanding work. Great step by step pics and a very thorough guide for anyone attempting a similar modification. Can't wait to see the finished product.

Thanks. These rear fenders are normally fitted to the factory bonding strips as a full quarter replacement, not sure if I saved much work by cutting the rear short and splicing them in though !!!
I was hoping to have them in primer by now but been held up with work.

Offline wabco40

  • Fuel Injected
  • *****
  • Posts: 556
  • Location: Perth
Re: 71 rebuild
« Reply #457 on: December 21, 2014, 12:25:31 AM »
What type of filler did you use Brad ?

Hi Craig,
It 3m Platinum Plus body filler. Most of this has been sanded off and I then applied 3m Flowable Finishing Glaze. Again most of this was sanded off.
I still need to do work on the door gaps and I am also filling in the seams on the rear lower exhaust filler panel.
Once all that's done I'll shoot it with high fill primer, block sand again and re-shoot with primer.
I plan on leaving it for quite a few months to give it a chance to settle or shrink before blocking out again. That will give me a chance to strip and prep the rest of the car for paint.

Offline wabco40

  • Fuel Injected
  • *****
  • Posts: 556
  • Location: Perth
Re: 71 rebuild
« Reply #458 on: December 21, 2014, 12:00:00 PM »
Looking a bit like a patchwork quilt at the moment. I have been using dry guide when sanding to get it as straight as possible before high fill.

I still need to remove some paint from around the exhaust filler panel seam area and bond/fill this in.

Back to work tomorrow for the Christmas period, so nothing happening till after that :grr:

Hope everyone has a great Christmas :cheers:


Offline wabco40

  • Fuel Injected
  • *****
  • Posts: 556
  • Location: Perth
Re: 71 rebuild
« Reply #459 on: January 01, 2015, 07:38:22 PM »
And now for something completely different, another Chev project in the shed!!!

I picked up this 28 Tourer from an old boy who had it sitting in his shed for many years. I guess you could call it a barn find!!!!

Its a complete car in reasonable condition. I plan on doing a frame off rebuild when the Vette is back on the road.