I have decided I need to get the gearbox back in this thing soon, so I can use the hoist for oil changes and other useful things, rather than just 'car goes up, car goes down'.
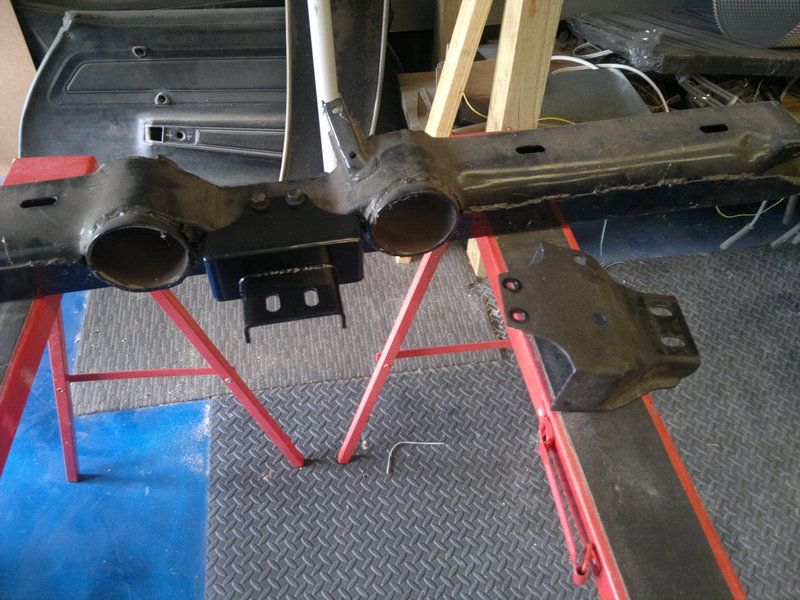
Easy bits first. I threw the clutch on and bolted the new gearbox mount to the cross member.
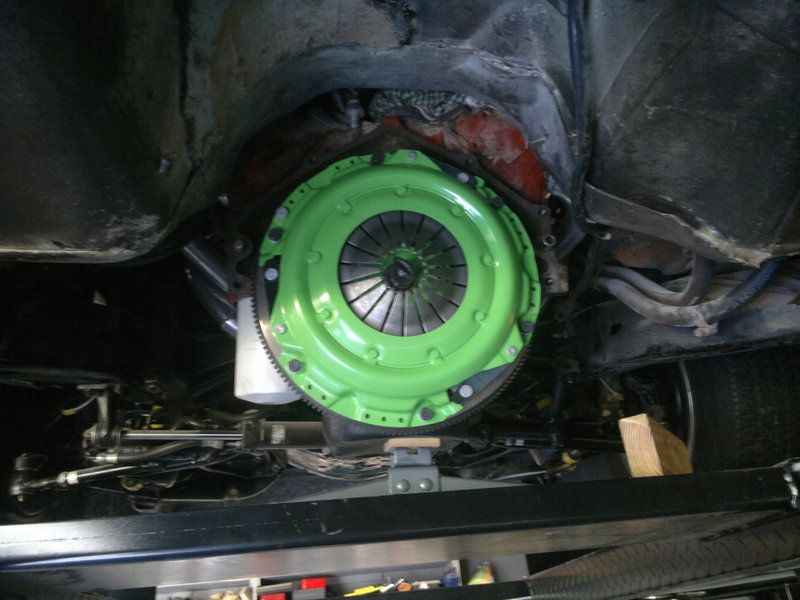
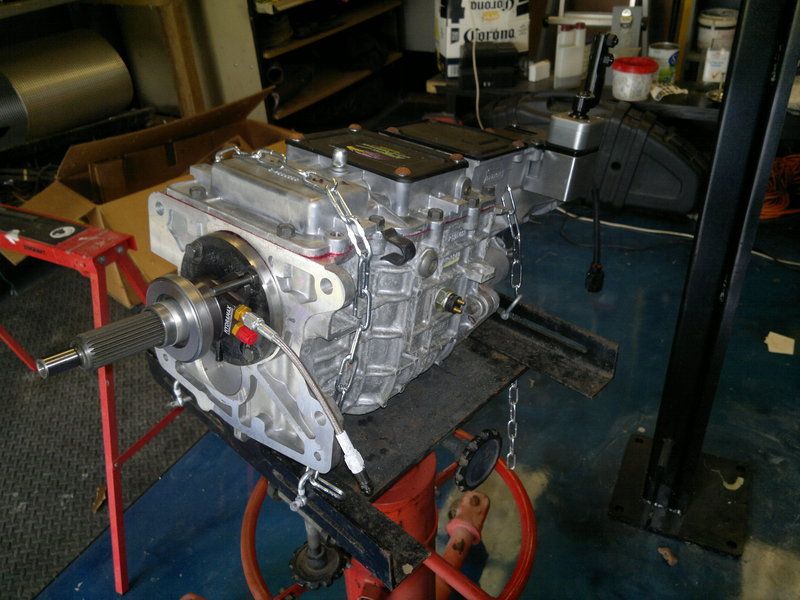
I bought some hydraulic oil and topped up the trans hoist I bought cheap on gumtree, then manhandled the box up. Then threw on the hydraulic throwout bearing, and the stud that locates it.
Bolted the bellhousing onto the block to do some measuring.
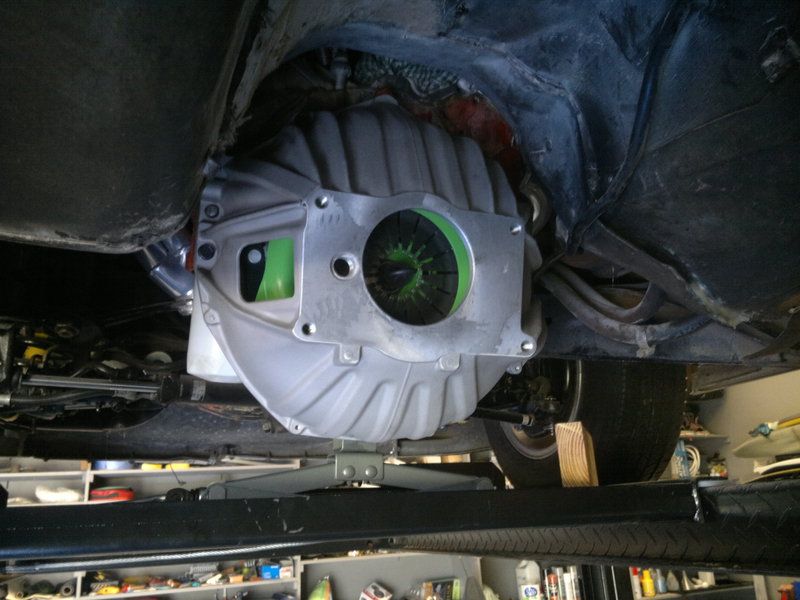
According to the instructions for the hydraulic throwout bearing, I need 150-200 thou clearance between the bearing face and the clutch fingers. It also stated that chev bellhousings are shallow, so you may not have that much. Sure enough I measure it all up and I have around 20 thou clearance.
Apparently It's OK to space the bellhousing out a little from the block using washers.... No thanks. Or I can buy a 250 thou spacer from the supplier and then shim the throwout bearing up to the correct clearance. It's from a US company, so wouldn't be a fast turnaround time, of cheap. I figured I'd have to make my own up instead.
Of course no decent aluminium place is open on a saturday arvo, so I went to masters/bunnings for a look. Sure enough, masters sell sheets of 3mm plate aluminium.
3mm is around 120 thou, which gets me pretty close. The instructions say 100 thou is still OK, so 140 though should be fine. Plus there's more spiggot engagement that if I used a thicker spacer, which I like the idea of.
I've gotten as far as marking the plate up with a scribe and hopefully I get some time tonight to cut something out.


